

Name of the Organization : Canada Post
Type of Facility : View, Pay & Manage Bills With ePost
Country : Canada
Website : https://www.canadapost.ca/
View, Pay & Manage Bills With ePost
3 easy steps to simplify your lifeEach epost Username is unique.
Related : Canada Post Online Parcel/Letter Tracking : www.statusin.org/3769.html
Step number 1 of 3 : Log in or create an account
Step number 2 of 3 : Add Bills and Statements
Step number 3 of 3 : Manage your mail with epost


Log in or create an Account
Registering for epost :
Create an epost account in less than 5 minutes :
** Enter a username, password, email address and postal code.
** Read and accept the Terms and Conditions.
** Enter your physical address and telephone number.
** You’ll be asked to create a Digital Postal Address. It’s optional. What is a Digital Postal Address-
** With your account information in hand, start adding bills and statements to epost.
https://www.statusin.org/uploads/images2019/epost2.jpg
Username :
Usernames may contain up to 32 characters and may include letters or numbers, and the ‘period’ or ‘underscore’ character.
Password :
Passwords may contain 8-32 characters and must contain :
** a capital letter and
** a lower case letter and
** a number OR a special character (*, &, %, =, #, !, AT , $)
Password tips :
** Randomly mix the characters in your password.
** Choose made up words not found in a dictionary
** Don’t use the same password for epost that you use for other online services
** Avoid repeatable key sequences, words spelled backwards, adding a number after a word or doubling up on a word (appleapple)

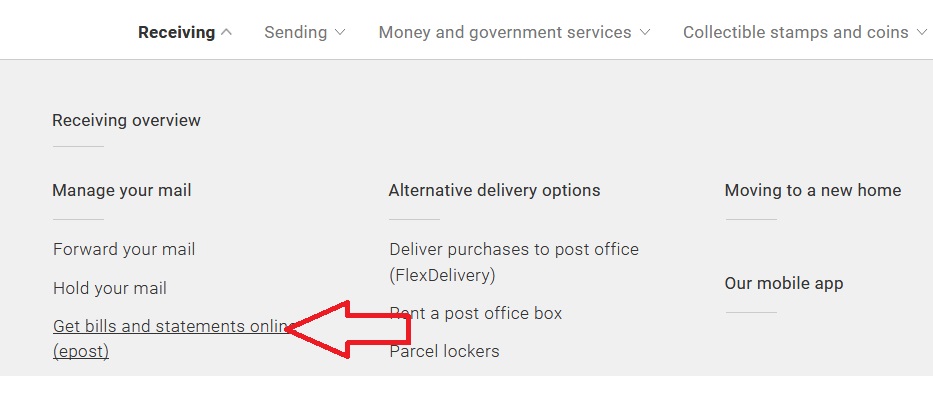
Bills and Statements :
Add Bills and Statements, or view your “Mailers” (organizations that send you bills and statements) by following the instructions below.
Add Bills and Statements :
Before you start, have your account information or a recent statement handy.

To add Bills and Statements :
** Click the Add a New Bill or Statement button on the Mailbox screen.
** Select your province or search for organizations and businesses by name.
** Select the mailer organization and then click Next.
** Enter the account information requested and select Continue.
Tip : If you do not have all of the requested account information, select Save & Complete Later.
View or Edit Your Bills & Statements
** From the Mailbox screen, click Profile Settings
** From the Profile Settings tab, click the My Bills and Statements tab.
** Select the radio button next to the organization or business you wish to view or and then select Edit.
** Edit the information, and then click Save.
Cancelling a bill or Statement :
** From the Mailbox screen, click Profile Settings.
** Click the My Bills and Statements tab.
** Select the button next to the name of the organization you wish to delete and click Delete.
** To complete the removal your Bill or Statement, click Continue on the confirmation page.
Add Payment Methods :
** From the Mailbox screen click Profile Settings.
** from the Profile Settings tab, select Payments.
** Click Add Payment Method.
** From the list, select the method of payment you wish to add and click Continue.
Note :
** Methods of payment accepted vary by organization or business. Most organizations accept online banking bill payments.
** Complete the required information for adding the payment method and then select Finish.
** The next time you pay a bill from your epost mailbox, can choose the method of payment you just added. See Paying Bills from the Mailbox .
Payment History
You can record your bill payments with epost and view your Payment History anytime.
To view your entire Payment History :
** From the Mailbox screen, click Profile Settings.
** Select the Payments tab.
OR :
To view the Payment History for one Bill :
** From the Mailbox screen, find the bill you wish to view.
** Click the Payment History icon from the drop down menu for that bill, and any recorded payments will be displayed.
OR :
** From the Mailbox screen, click on the small Calendar to expand it.
** From the expanded Calendar list of bills, click the Payment History icon displayed beside the bill amount and any recorded payments will be displayed.
Record a Payment :
Use Record a Payment to manually update your Payment History for bills you paid through your online banking.
To record a payment :
** From the Mailbox screen, open your bill.
** Click the Record a Payment button. The Record a Payment window opens.
** Enter the details and click Next.
** Click Close to close the Record a Payment window.
OR :
** From the expanded Calendar, click on the Calculator icon.
** Enter the details.
** Click Save
Paying Bills from the Mailbox :
To pay a bill :
** From any folder within the Mailbox screen, click on the bill you wish to pay. The Mail Detail window appears.
** Click Pay from the top of the page.
** From the payment list, select a payment method and then select Continue. You can also record a payment for this bill, by selecting Record a Payment in the Mail Detail window of the selected bill.
Note :
If you have not saved any payment methods, click on Profile Settings near the top right of the screen, and click the Payments tab. See the Bills and Statements Help tab for more details
Scheduled Payments :
Some organizations offer scheduled credit card or Pre-Authorized electronic funds transfer EFT payments via epost.
To set up scheduled payments through epost :
** Select Profile Settings and then select the Payments tab.
** Select Payment Method and follow the prompts for payment scheduling.
To view your epost scheduled payments :
** Select Profile Settings and then select the Payments tab.
** Select Scheduled Payments. Details about each of your scheduled payments are displayed.